Building setlists
Entering and leaving edit mode
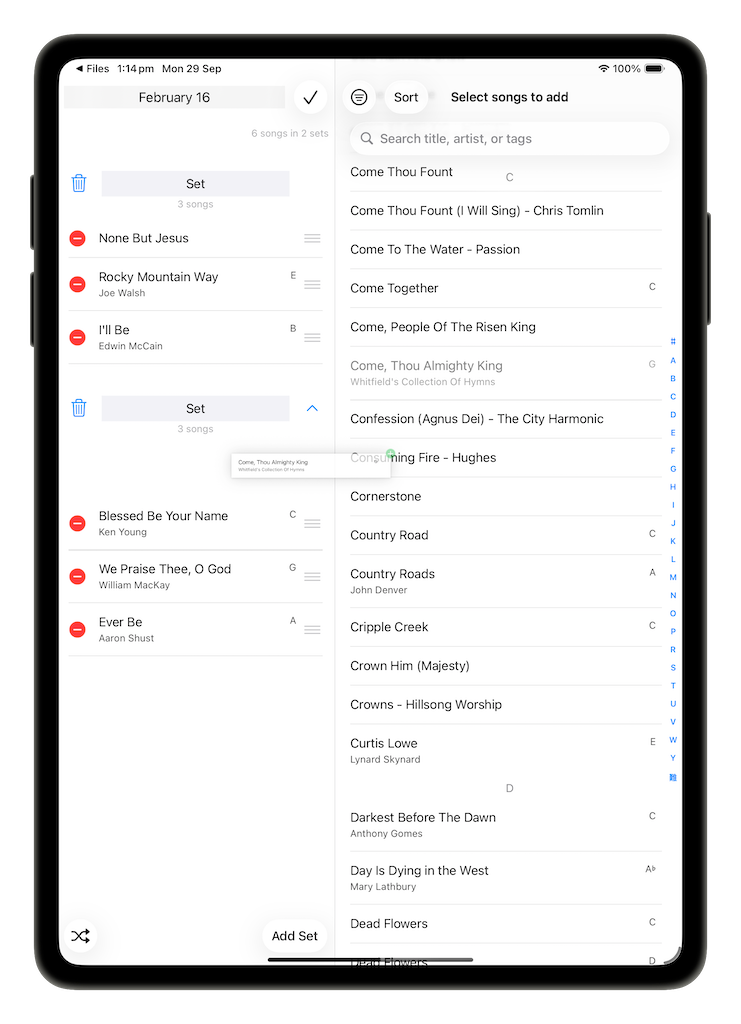
With a setlist selected, tap the Edit button at the very top-right of the display to enter edit mode. The screen will slide over so that the list of sets and songs will occupy the left hand side of the screen, and a list of songs to select from will slide in from the right.
When you have finished editing a setlist, tap the Done button to the right of the setlist name to return to the default Library view.
Naming a setlist
When you first create a setlist, SongSheet Pro asks you to name it.
While in setlist editing mode, you can tap in the name / title area at the top of the screen to rename your setlist. When you’ve finished editing the name, tap Done on the keyboard to dismiss it.
Sets
A setlist always contains at least one set of songs, and there is no limit to the number of sets it may have. Each set may likewise contain as many songs as you like.
To add a new (empty) set to your setlist, tap the Add Set button at the top left of the screen.
The Add Set button is hidden while editing the name of the setlist.
You can rename the set by tapping its title and typing new text into the field.
You can reorder your sets by tapping the Move Up button to the right of a set name. This button only appears on the second and later sets (for obvious reasons!).
You can delete a set with all of its song entries by tapping the Delete Set button to the left of the set name. Because a setlist always contains at least one set, this button will not appear when you only have one set.
Songs
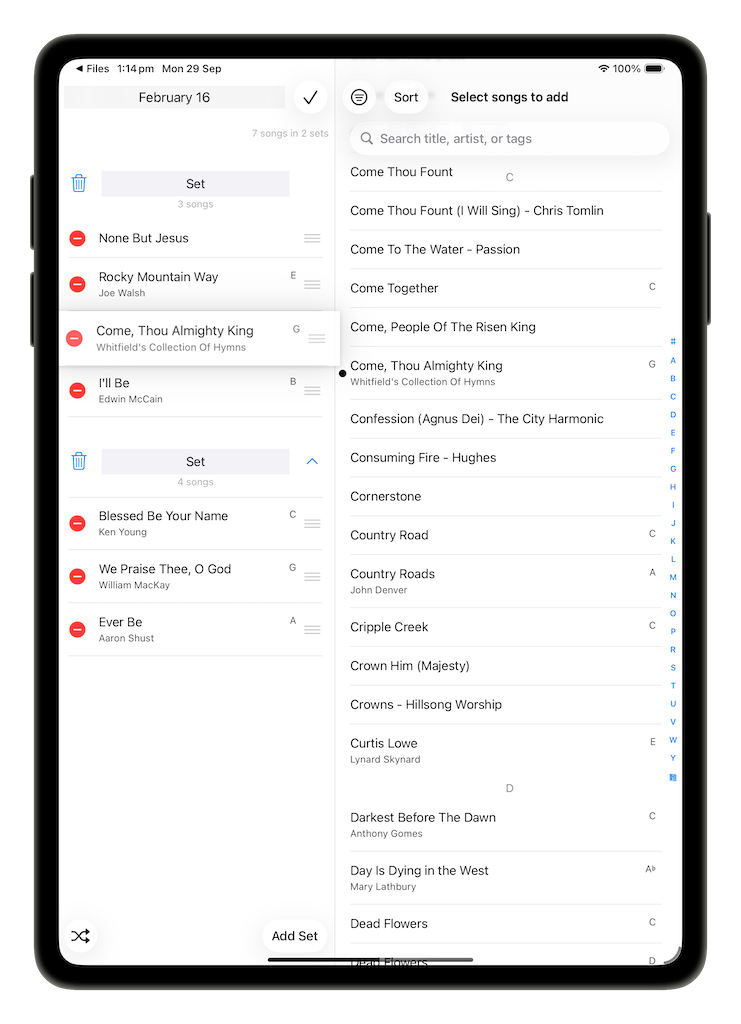
A complete list of all the songs in your library appears on the right of the screen when editing a setlist. This list can be filtered and searched in exactly the same way as the default library view. This will make finding the song you want from hundreds of potentials fast and easy. If a song is already in your setlist, a little indicator will show on the song entry in the source list, allowing you to see at a glance if you’ve already added the song to your list.
To add a song to your setlist from the list on the right, just tap it. The song will slide in from the right at the end of your setlist.
You can also use drag and drop to select and drag a song from the source list and insert it anywhere in your setlist. You can drag one or many songs at once into the setlist in this way.
To change the position of a song in the setlist, use the song’s drag handle. Songs can also be moved between sets in this manner.
To remove a song from the set, tap the red delete icon to the left of its title and then tap the Remove button that appears.
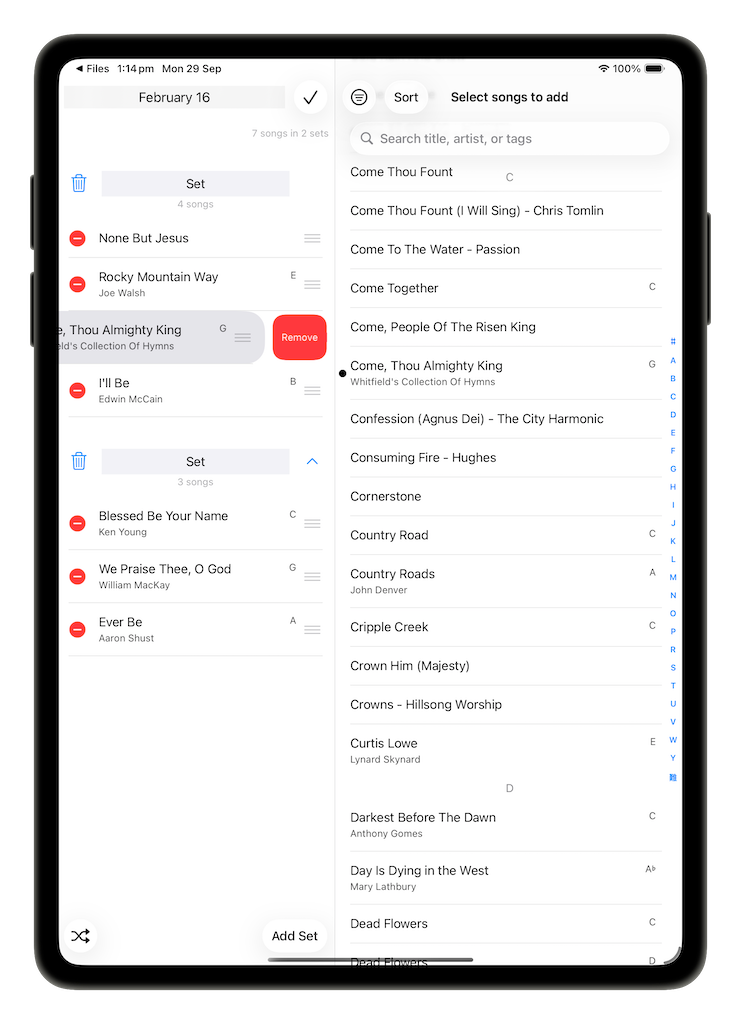
Removing a song from your setlist does not remove it from your library or any other setlist. Your songs are safe.
Using drag and drop
You can also easily add rearrange songs using standard drag and drop gestures, even when not in edit mode.
To add a song, long press on a song in the source list. Once picked up, drag towards the setlist, position the song in the position you want to insert it, then drop. The song will be inserted at that location. Once the drag operation has started, you can also pick up more songs in the same gesture, and drop them all at once into the setlist.
To rearrange songs, you can long press anywhere on the song entry, not just the traditional drag handle, and drag the song to the new position. The gesture also allows you to pick up and move multiple songs at the same time.
When you are browsing through your song library (i.e. without a setlist selected), you can also select and drag one or more songs, and then drop them into a setlist, or even insert the songs between existing setlists to create a new setlist pre-populated with the songs you just dragged.